
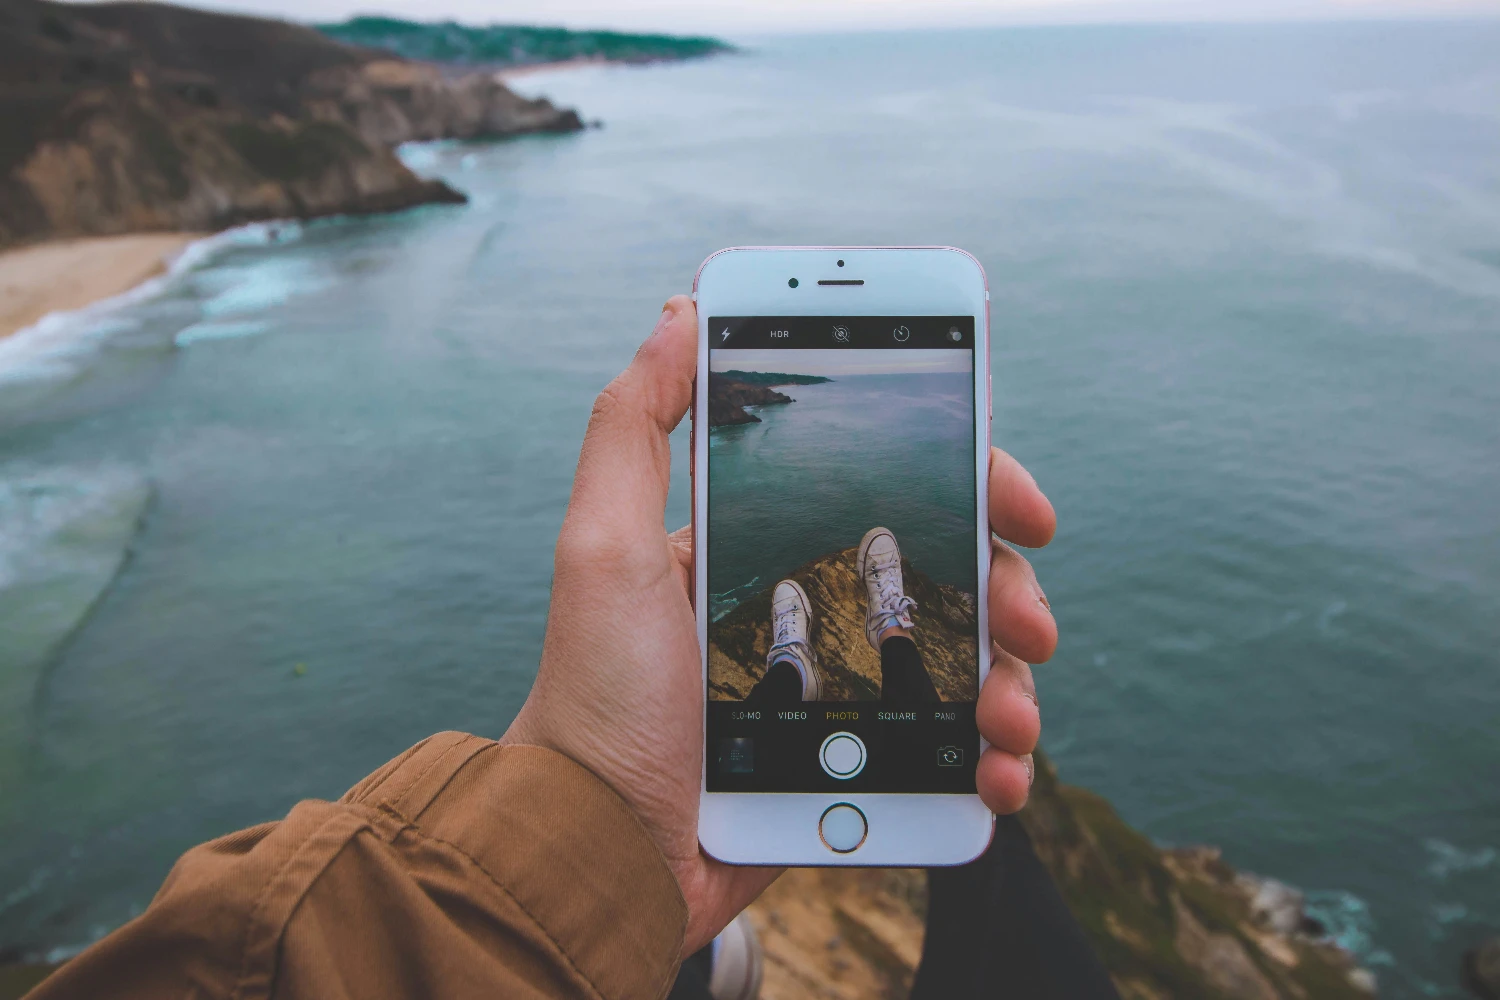
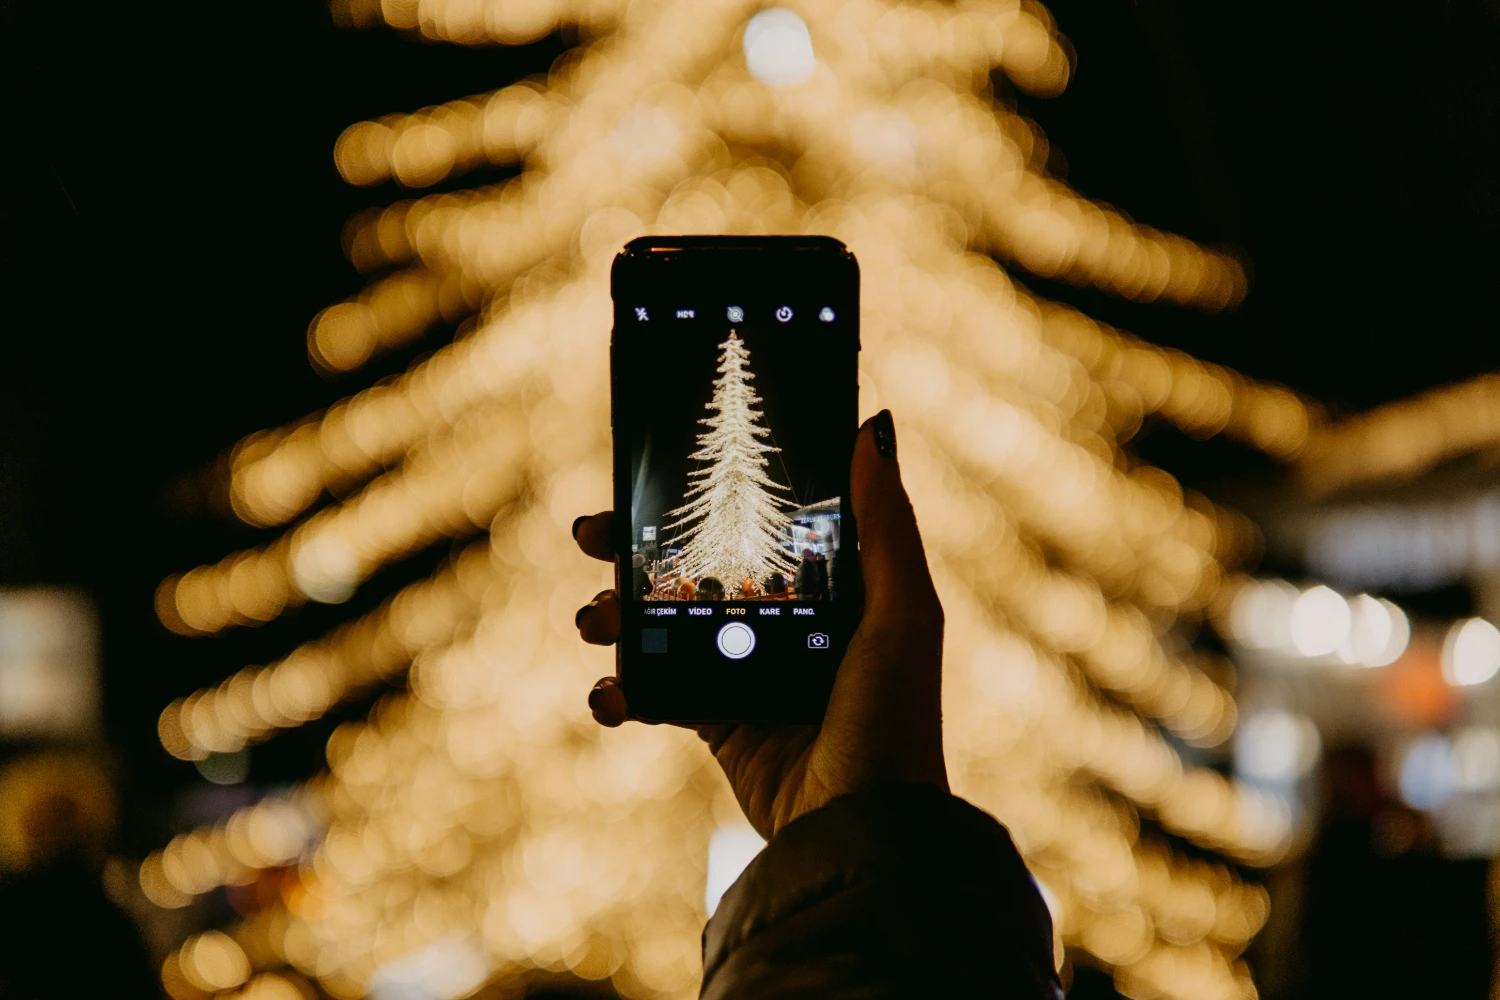
How to Make Stunning Photos on Your iPhone
Let’s face it: iPhones are amazing. Whether you’re chasing golden sunsets or snapping pictures of your pet doing something ridiculously cute, your iPhone is always up for the task. But—not every photo turns out Insta-worthy, does it? Sometimes the lighting is off, or your composition is… well, let’s just call it “creative.”
Don’t worry; you don’t need a photography degree to level up your iPhone photography game. With a little know-how and some clever tricks, your iPhone photos can go from “meh” to “WOW!” So grab your phone, clean that camera lens (seriously, do it), and let’s get started.
Know Your Tools: Mastering iPhone’s Camera Features
Before we talk about lighting, angles, and other fancy stuff, let’s take a moment to understand what your iPhone’s camera can do. It’s like discovering secret superpowers—except way less radioactive.
Pro Tip: Keep Your Camera Updated
You might be rolling your eyes right now, but hear me out. Apple is constantly improving the camera’s capabilities through software updates. So if your iPhone hasn’t been updated since your last birthday, you’re probably missing out on some cool new features.
Live Photos: More Than a Gimmick
Live Photos are like the GIFs of the photography world. They capture a few seconds before and after you press the shutter, which is perfect for capturing motion or little candid moments. Plus, you can pick the exact frame that’s the least embarrassing (or most hilarious).
Quick Tip: Long-press on a Live Photo and swipe up to experiment with effects like “Loop” or “Bounce.”
Lighting: The Secret Sauce
Lighting can make or break your photo. Ever tried taking a selfie in bad fluorescent lighting? It’s like your face turns into a Picasso painting. Not fun. Here’s how to avoid that:
Embrace Natural Light
Natural light is your best friend. Early morning or late afternoon (aka “Golden Hour”) gives you that soft, dreamy glow that makes everything look magical. Midday light? Not so much. Harsh shadows can make your photos look dramatic in all the wrong ways.
Pro Move: If the sun’s too strong, look for shade or use a reflector (or just a white surface like a piece of paper) to soften the light.
Play With Shadows
Shadows aren’t the enemy. They can add depth and mood to your photos. A dramatic shadow cast by a tree or a windowpane can transform an ordinary shot into something artsy. Just don’t overdo it—no one wants to look like they’re in witness protection.
Composition: Framing Your Shot Like a Pro
You don’t have to memorize every photography rule, but a few basic principles can make a world of difference. Trust me, it’s worth it.
The Rule of Thirds: It’s Not Just a Fancy Term
This one’s a classic. Imagine dividing your screen into a grid of nine squares (your iPhone camera can do this for you—just turn on the grid in Settings). Place your subject along the lines or at their intersections, and bam! Your photo suddenly looks way more interesting.
Example: Instead of centering your dog’s face in the middle of the frame, try aligning their adorable snout with one of the gridlines.
Leading Lines: Your Photo’s GPS
Leading lines guide the viewer’s eyes through your photo. They can be anything—roads, fences, a line of trees, or even a messy trail of your kid’s toys. Use them to draw attention to your subject.
Fun Fact: Leading lines are basically the equivalent of saying, “Hey, look over here!”
Colors and Filters: Add Some Pizzazz
Understand Color Theory (It’s Easier Than It Sounds)
Contrasting colors can make your subject pop. For example, if your subject is wearing a bright yellow jacket, look for a blue backdrop. You don’t need to overthink it—just keep an eye out for colors that “click.”
Skip the Instagram Filters
Let’s be honest: Instagram filters are like instant noodles. Sure, they’re convenient, but they’re not gourmet. Instead, use your iPhone’s editing tools or third-party apps like VSCO, Snapseed, or Lightroom Mobile.

Quick Tip: Subtlety is key. Over-editing can turn a beautiful shot into something that looks like it came from a 2008 MySpace profile.
Zoom and Lenses: Knowing When to Step Back (Literally)
Your iPhone’s zoom is great… until it’s not. Digital zoom (pinching the screen) can lead to blurry, pixelated photos. Instead, walk closer to your subject, or better yet, use your iPhone’s telephoto lens if you have one.
Fun Fact: Wide-angle lenses are perfect for dramatic landscapes or group photos, but don’t use them too close to people’s faces unless you’re going for “funhouse mirror vibes.”
Motion and Burst Mode: Freeze the Action
Burst Mode: For Blink-and-You’ll-Miss-It Moments
Hold down the shutter button, and your iPhone will capture a rapid sequence of shots. It’s perfect for action scenes or getting a group photo where everyone’s eyes are actually open.
Pro Tip: Review your burst shots and select the best one. Or keep them all if you can’t decide—storage is cheap these days.
Slow-Mo and Time-Lapse: Just for Fun
Your iPhone’s slow-motion and time-lapse modes are like playgrounds for creativity. Slow-motion is great for dramatic action (think hair flips or skateboard tricks), while time-lapse turns long events into bite-sized videos.
Selfies and Portraits: Because You’re the Star
Selfies are an art form. Done right, they can look candid and professional. Done wrong… well, let’s just not talk about that.
Use Portrait Mode (With Caution)
Portrait mode creates that dreamy blurred background (bokeh effect) that screams “fancy.” But it’s not foolproof. Use it in good lighting, and make sure your subject is clearly separated from the background—otherwise, things can get weird.
Angles Are Everything
Experiment with angles to find your “good side.” Shooting from slightly above is usually flattering, while shooting from below… let’s just say it’s an acquired taste.
Editing Like a Pro: Finishing Touches
Editing isn’t cheating; it’s polishing. Think of it like seasoning a dish—you’re just enhancing the flavors.
Master the Basics
Your iPhone’s built-in editing tools are surprisingly powerful. Adjust brightness, contrast, and saturation to make your photo pop. But don’t go overboard—your goal is to enhance, not overdo.
Use Apps for Extra Flair
Want to get fancy? Apps like Afterlight and TouchRetouch let you do things like add textures or remove that random stranger photobombing your shot.
Experiment: Break the Rules
Rules are great, but don’t let them box you in. Some of the best photos happen when you ignore all the “dos and don’ts” and just go with your gut. Tilt your phone, try crazy perspectives, or take blurry shots on purpose—sometimes chaos is beautiful.
Wrapping It Up: Your iPhone Is a Photography Powerhouse
You don’t need a fancy camera or years of training to take stunning photos. With a little practice, some clever tricks, and a dash of creativity, your iPhone can deliver professional-quality shots that’ll make your friends say, “Wait, you took this with your phone?”
So go ahead—start experimenting, play around with settings, and most importantly, have fun. Because at the end of the day, photography isn’t just about capturing moments; it’s about enjoying them too.
Now, go make some magic. And maybe take a picture of your coffee while you’re at it—it’s practically a rite of passage.
Let us know how your next photoshoot turns out!


