
10 Easy Ways to Step Up Your Mobile Photography Game
Let’s be real—most of us rely on our phones for taking pictures these days. The convenience? Unmatched. But here’s the catch: snapping a photo that makes people go, “Wow!” isn’t just about pointing and shooting. With a few simple tricks, you can turn those okay-ish shots into something Instagram-worthy. Let’s get into it.
1. Clean That Lens! (Seriously, Just Do It)
Before you even think about lighting or angles, give your camera lens a good wipe. Your pocket, purse, or hands are probably leaving smudges all over it. Those smudges? They’re the silent killers of sharp photos.
A quick swipe with a soft cloth (or your shirt, if you’re desperate) can make a massive difference. You might not even realize how much grime builds up until you clean it. Once you do, you’ll see your photos pop with newfound clarity. It’s the simplest fix, and you won’t believe you’ve been skipping it all this time.
2. Master the Rule of Thirds
This sounds fancy, but it’s actually super straightforward. Most phone cameras let you turn on grid lines in the settings. Do it! These lines divide your screen into nine equal parts. The trick is to place your subject where the lines intersect. It creates a natural balance that’s just pleasing to the eye.
Once you’ve nailed the rule, don’t feel boxed in. Some of the best photos happen when you break the rules—just do it intentionally. Think of it like jazz music: you need to know the basics before you can riff.
3. Find the Right Light
Lighting can make or break your photos. Natural light is your best friend, so look for opportunities to shoot near windows, outdoors, or during “golden hour.” That’s the hour right after sunrise or just before sunset when the light is soft and warm. Trust me, everything looks better in golden hour glow.
Avoid harsh midday sunlight unless you’re aiming for strong, dramatic shadows. And let’s talk about the phone’s flash—it’s rarely flattering. If you’re in low light, experiment with nearby lamps or candles instead of relying on that harsh little bulb.
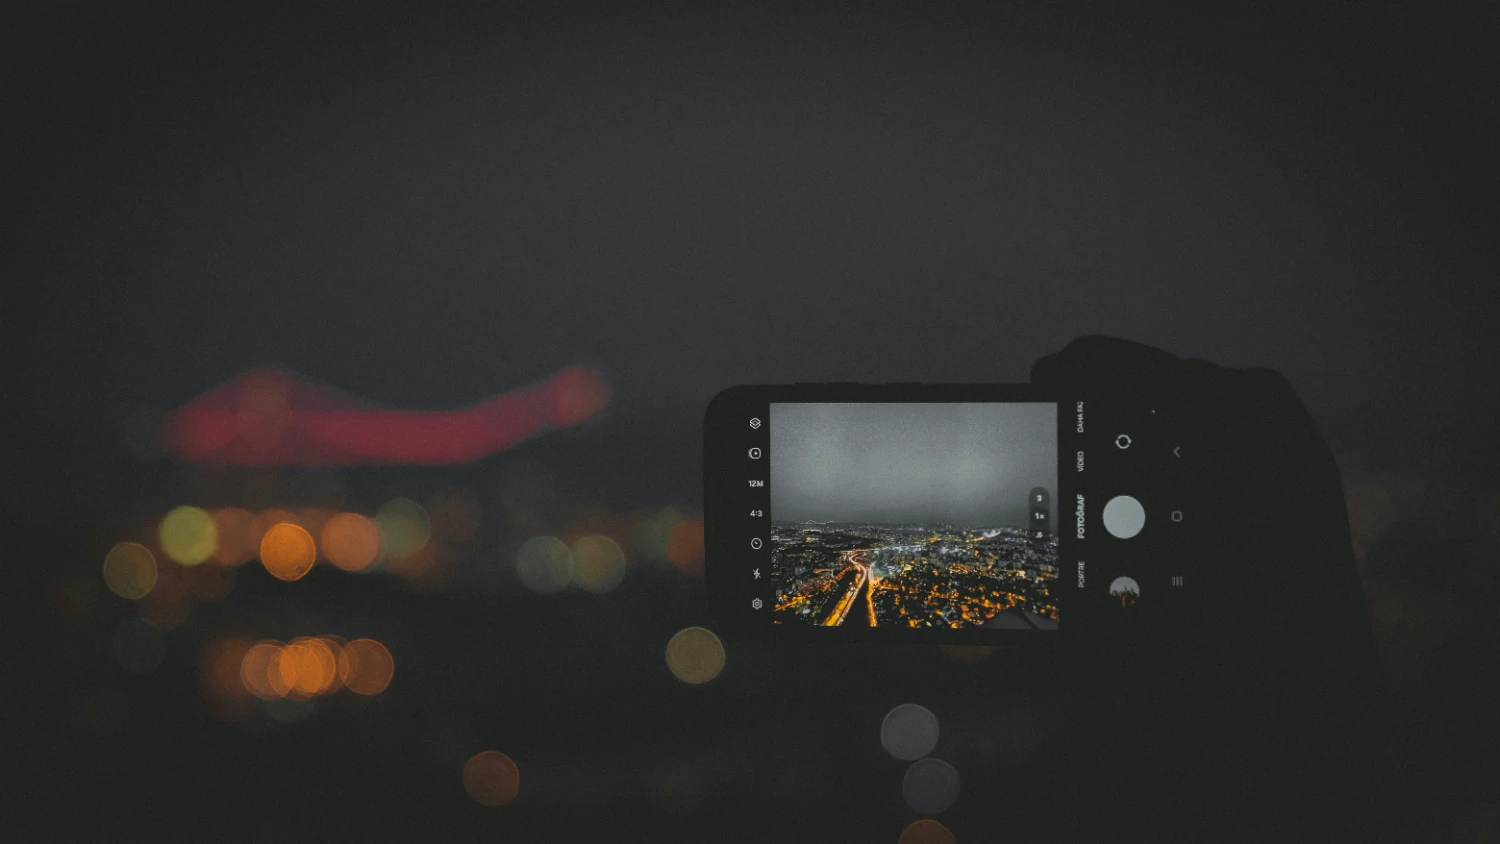
4. Get Closer, Skip the Zoom
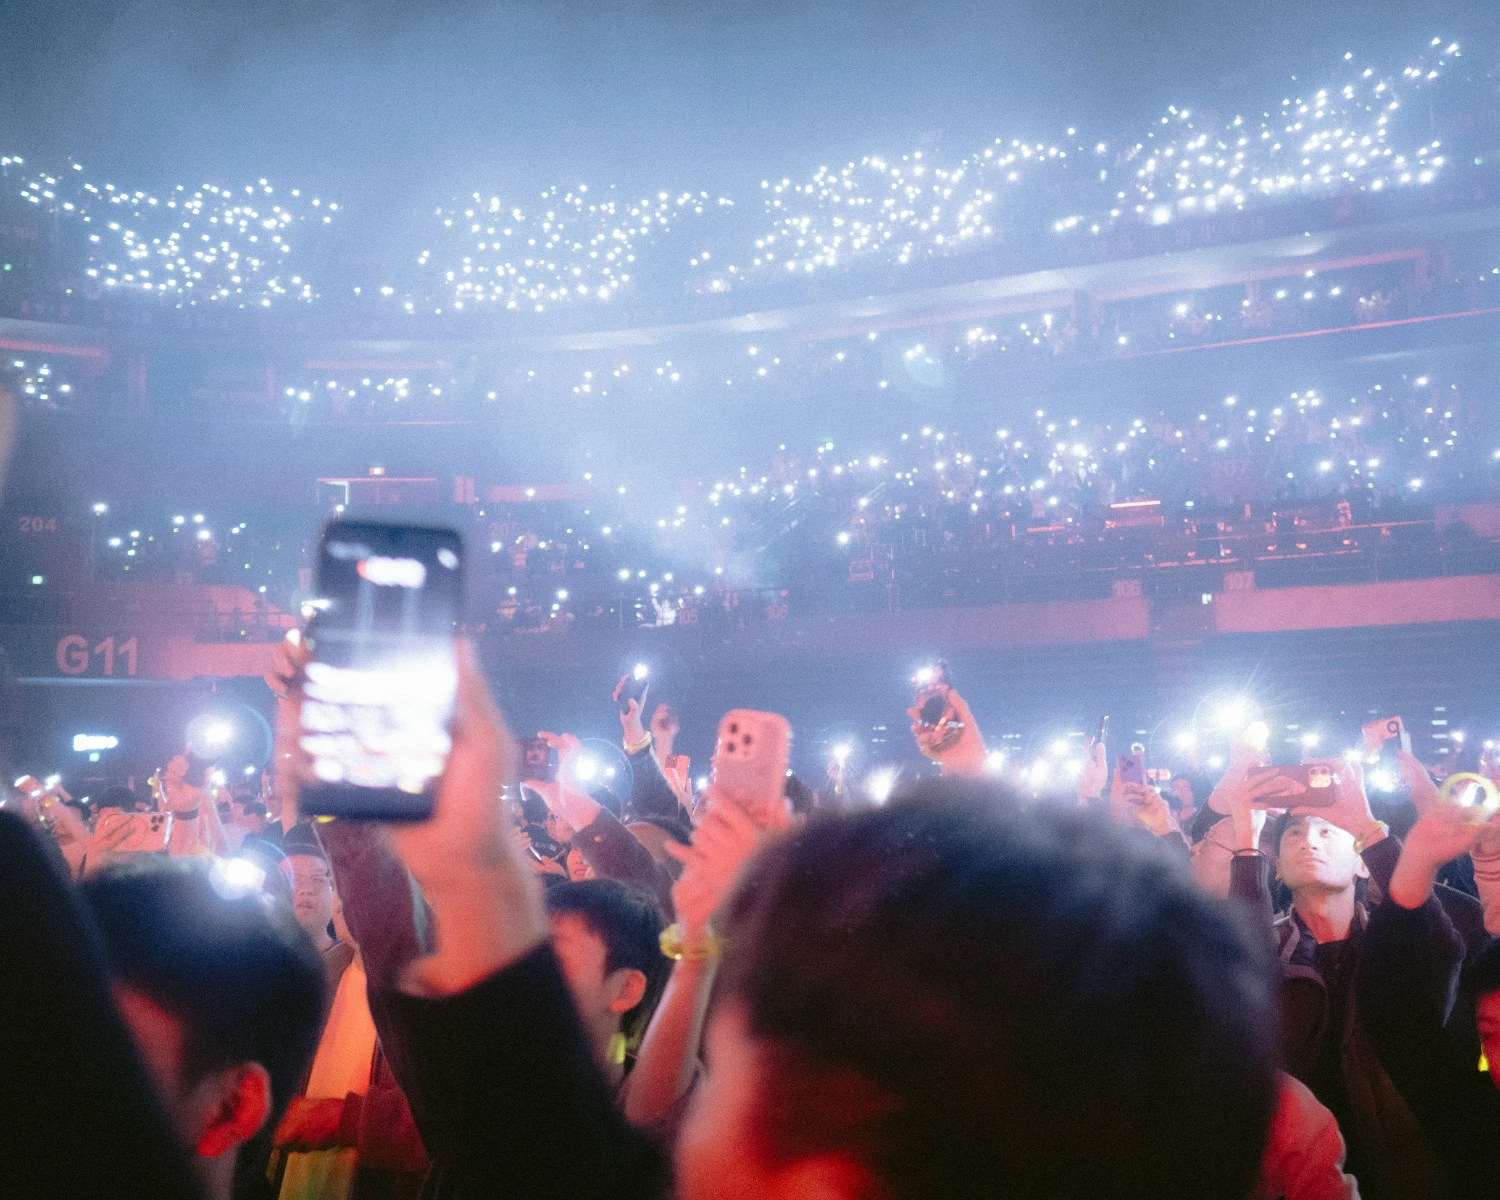
Digital zoom is a trap. It might seem convenient, but it kills the quality of your photo, leaving it grainy and pixelated. Instead, physically move closer to your subject. Not only will you capture more detail, but your photos will feel more intimate and alive.
If you can’t get closer—say, you’re at a concert or photographing wildlife—take the photo as-is and crop it later. Your camera’s resolution will handle cropping much better than digital zoom. And honestly, leaning in adds a sense of adventure to your shot!
5. Experiment with Angles
Stop taking every photo at eye level—it’s the quickest way to make your shots feel predictable. Get creative! Try crouching down and shooting from below for a powerful, larger-than-life perspective. Or climb up somewhere and shoot from above for a fun bird’s-eye view.
Angles can completely change the vibe of your photo. A slightly tilted shot can add some energy, while shooting straight on creates symmetry and balance. The key is to try out different perspectives until you find one that clicks—pun intended.
6. Tap to Focus and Adjust Exposure
Ever notice your phone doesn’t always focus on what you want? You can fix that with a simple tap. Touch the screen where you want your camera to focus—maybe your friend’s face or that perfect slice of pizza—and watch the magic happen.
Once you’ve set the focus, you can adjust the exposure by sliding your finger up or down on the screen. Too bright? Slide down. Too dark? Slide up. This tiny tweak can elevate your photos from “meh” to “wow” with zero effort.
7. Use Portrait Mode (But Don’t Overdo It)
Portrait mode is like the secret weapon of phone photography. It blurs the background, making your subject stand out like a pro. It’s perfect for snapping pics of people, pets, or even your morning coffee if you’re feeling artsy.
That said, it doesn’t work for everything. Trying to use portrait mode on group shots or wide landscapes often ends in weird blurs and cut-off details. Use it wisely, and you’ll have stunning, professional-looking photos every time.
8. Steady Hands or a Tripod for the Win
Blurry photos are the bane of good photography, but they’re also easy to avoid. When shooting, hold your phone with both hands and tuck your elbows into your body for extra stability. This little trick can instantly improve your results.
For situations where you need absolute steadiness—like long exposures or time-lapses—a small tripod is a lifesaver. Don’t have one? Improvise by propping your phone on a steady surface like a table or a stack of books. You’ll be amazed at the difference.
9. Edit, Don’t Overdo
Editing is where good photos become great ones, but there’s a fine line between enhancing and overdoing it. Apps like Snapseed, Lightroom Mobile, or VSCO are fantastic for making small tweaks like adjusting brightness, contrast, or sharpness.
The key is to keep it natural. Avoid cranking up the saturation or filters to the point where your photo looks fake. Think of editing as the final seasoning on a dish—you want to enhance the flavor, not drown it.
10. Practice Makes Perfect
Nobody becomes a pro overnight, and that’s okay. The best way to improve your mobile photography skills is to practice. Experiment with different lighting, angles, and subjects. Shoot things that make you happy or inspire you, even if it’s just your morning coffee or your dog snoozing on the couch.

The more you practice, the more you’ll start to notice what works and what doesn’t. And here’s the thing: not every photo needs to be a masterpiece. The goal is to capture moments and have fun along the way.
So go ahead—grab your phone, start snapping, and let your creativity shine!


